Start with Azure DevOps
Overview
This document describes how to sign up into Microsoft Azure DevOps and there how to create an environment to software development. Using of Microsoft Azure DevOps service is not mandatory, the same result can be achieved with any other git-based service in cloud.
Initial settings of Azure DevOps
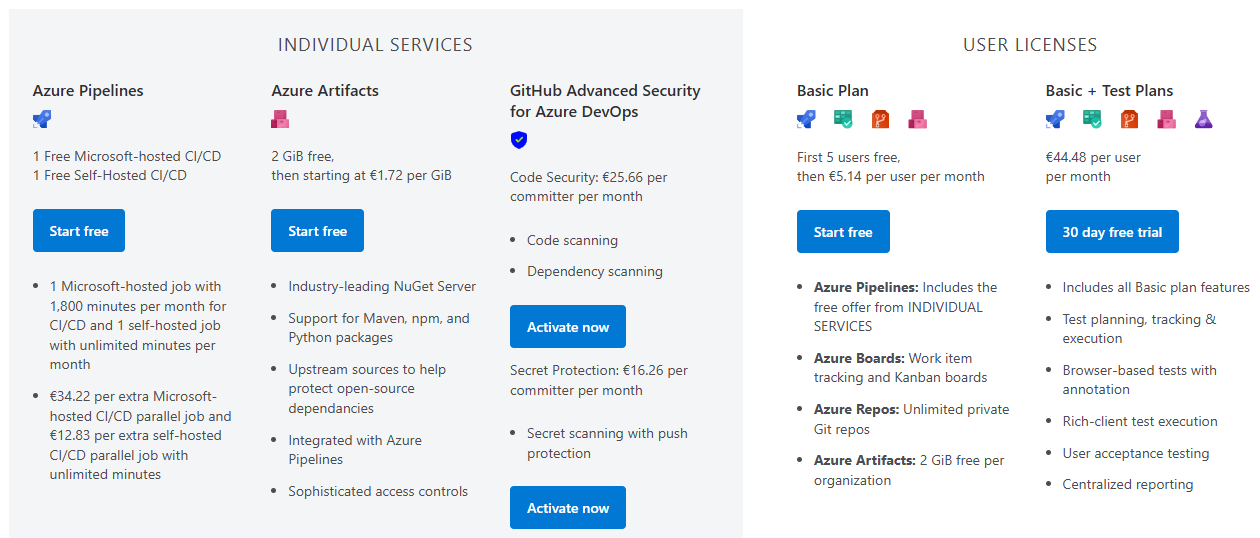
Microsoft offers free Basic plan for 5 users, described in more detail here in this picture.
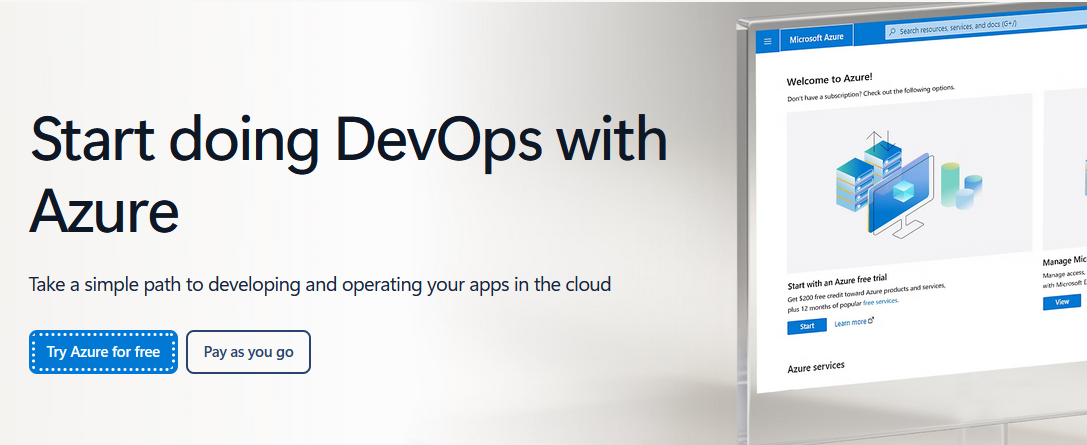
Start with this Basic Plan on Start doing DevOps with Azure page, there you click on Try Azure for free button.
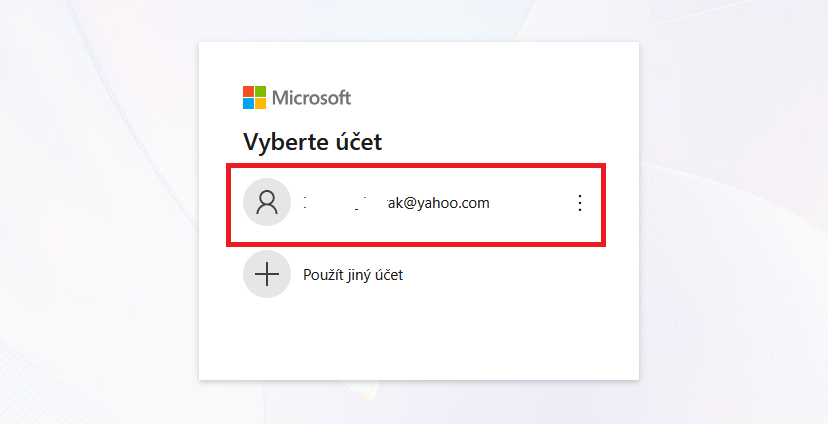
Afterwards, select one from existing Microsoft accounts to login.
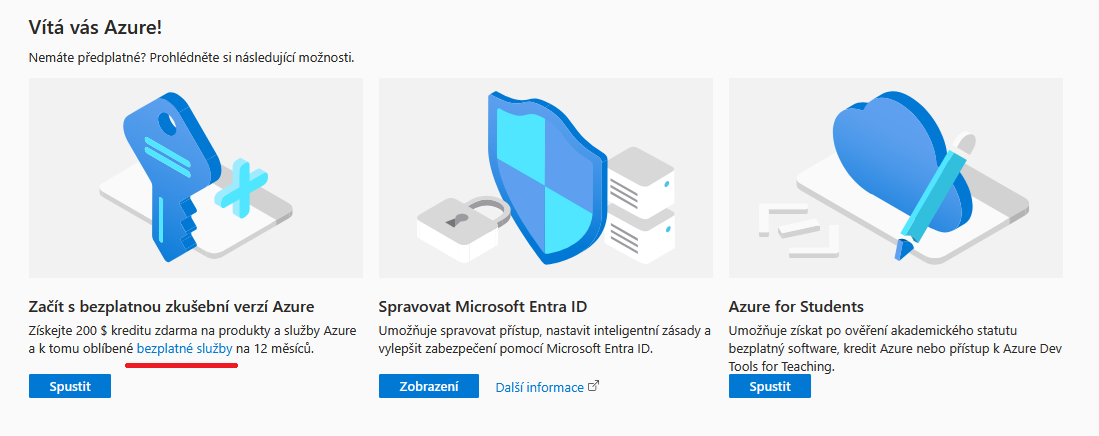
Then you reach Microsoft Azure page, where you click on bezplatné služby (free services) link.
On next screen, click on Azure DevOps organizations link, found by following these steps.
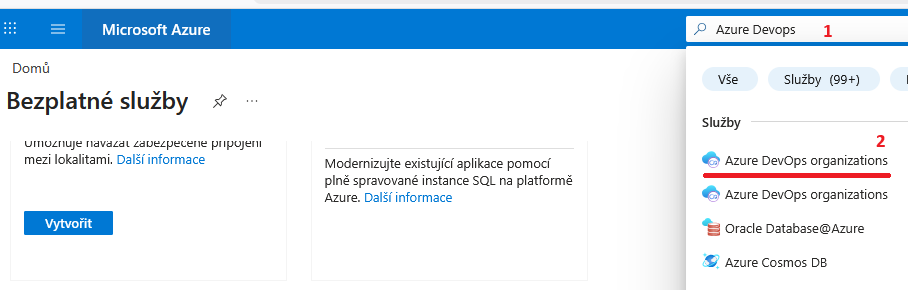
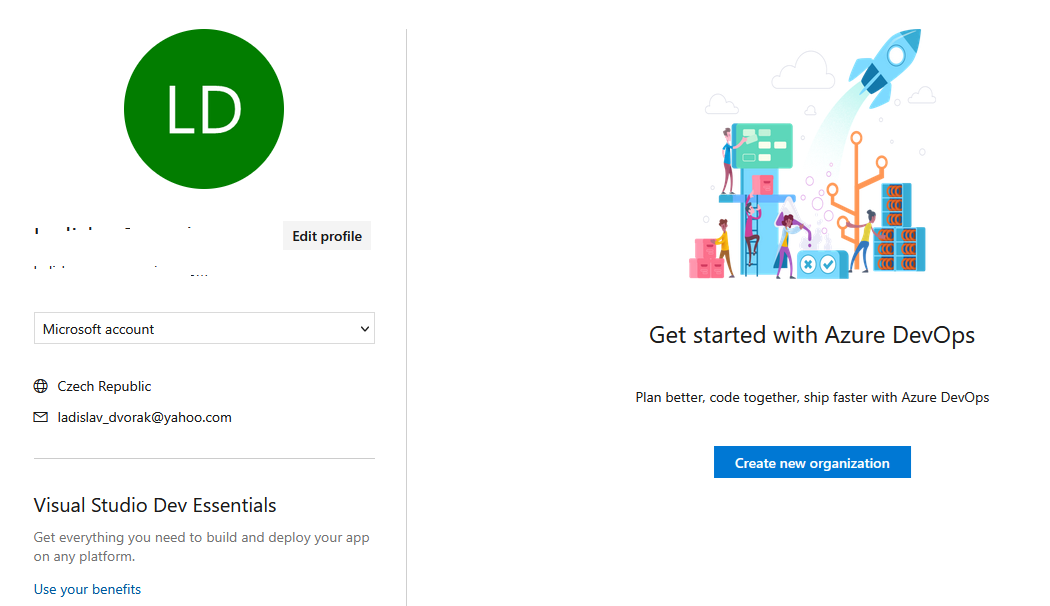
You will be redirected to Azure DevOps organizations screen. Here, continue by pressing the button Create new organization.
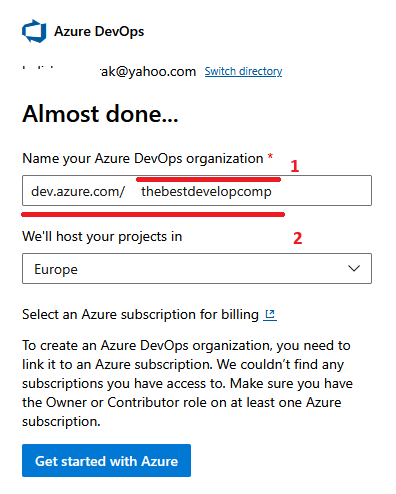
By confirming the following dialog, procedure stops on Almost done... dialog. Here you choose name of your organization (part 1). What creates with predefined suffix (dev.azure.com) complete url of your new Azure DevOps organization (part 2). Notes this complete url - it is url for your Azure DevOps. Click on button to continue.
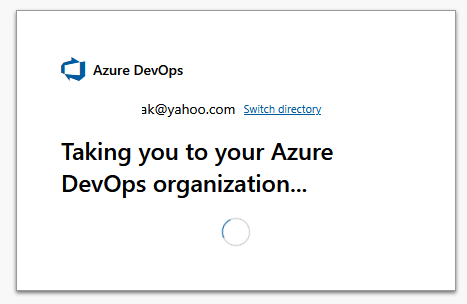
This dialog confirms that you are on the final way to Azure DevOps.
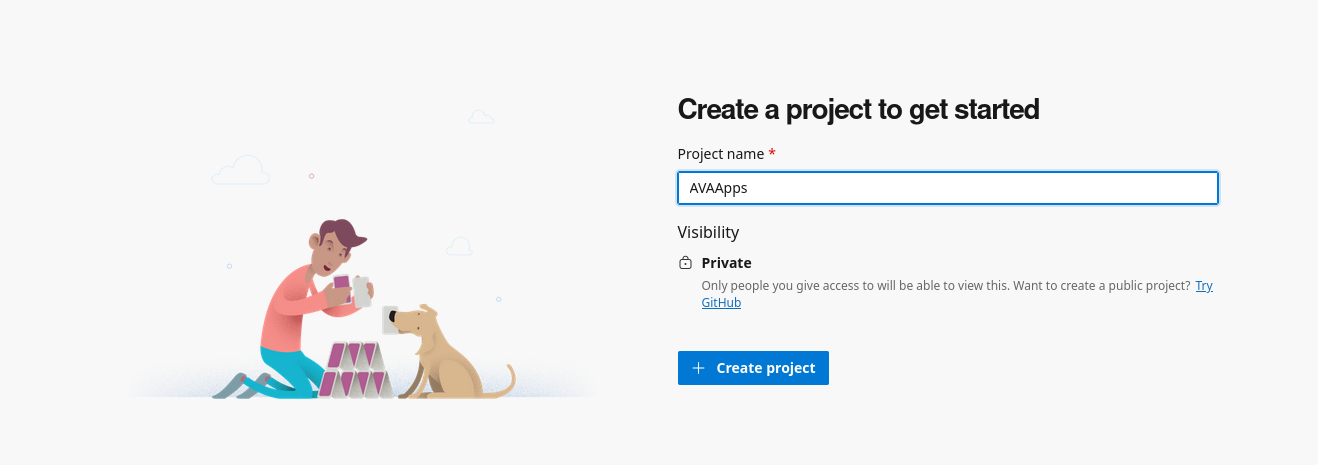
Now, a prompt to create your first project appears. The project will be named AVAApps.
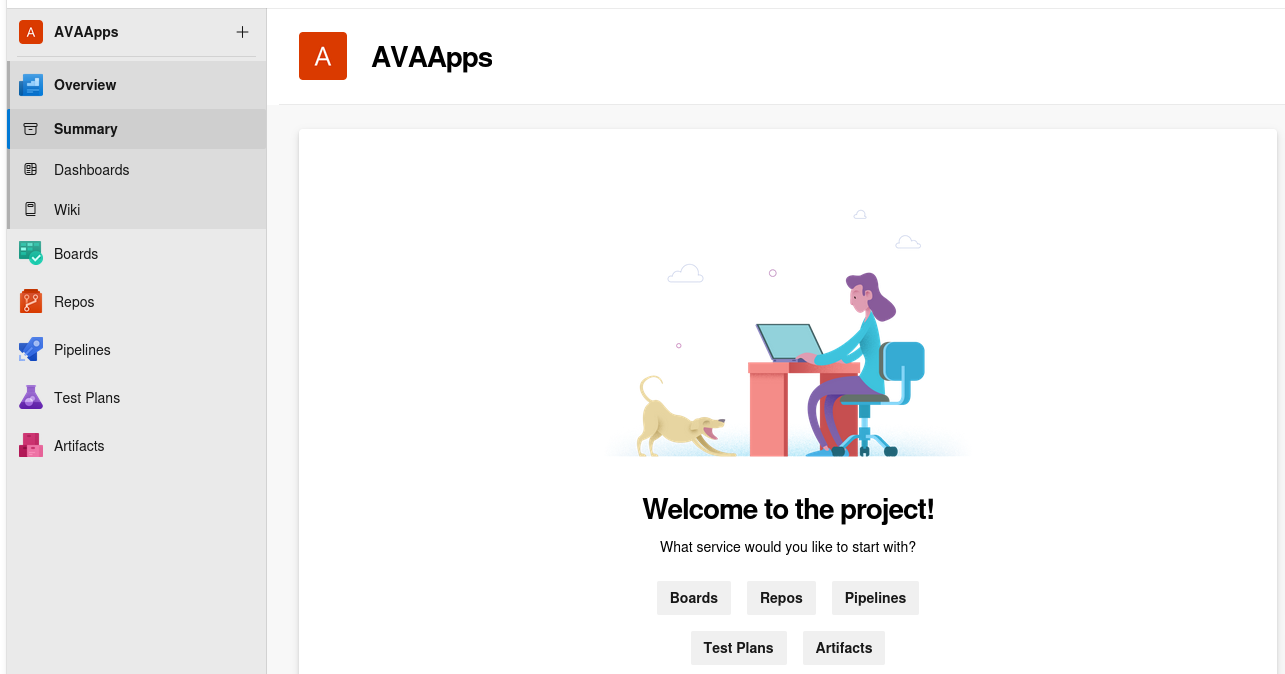
When creation is finished, project's workspace appears.
Add contributing users to development team
The user who created the project is automatically added to the development team. If additional developers need to be added (up to five users at no cost), follow these steps.
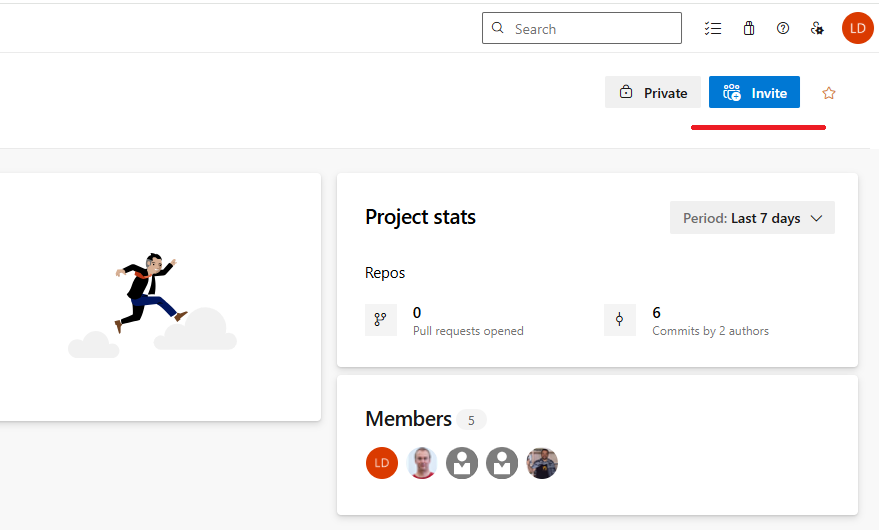
From introductory screen of project, click on Invite button (in the upper-right corner).
Then type e-mail(s) of invited developer(s) in Users field (point 1 in the picture below). And subsequently click on appeared field (point 2 in the same picture).
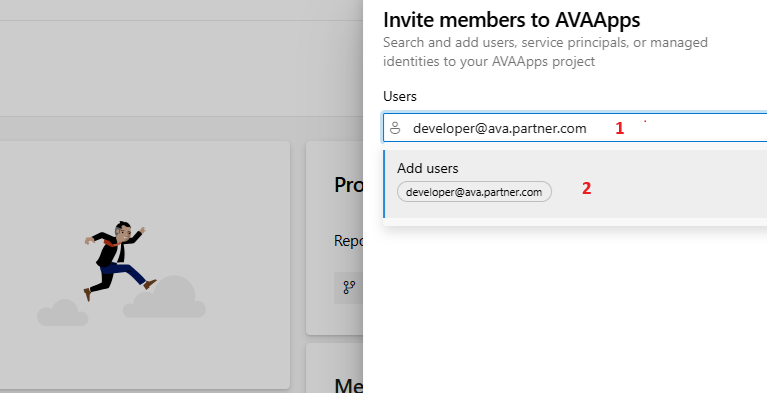
Afterwards, Add button in the bottom right-hand corner activates and after click on it, user is created.
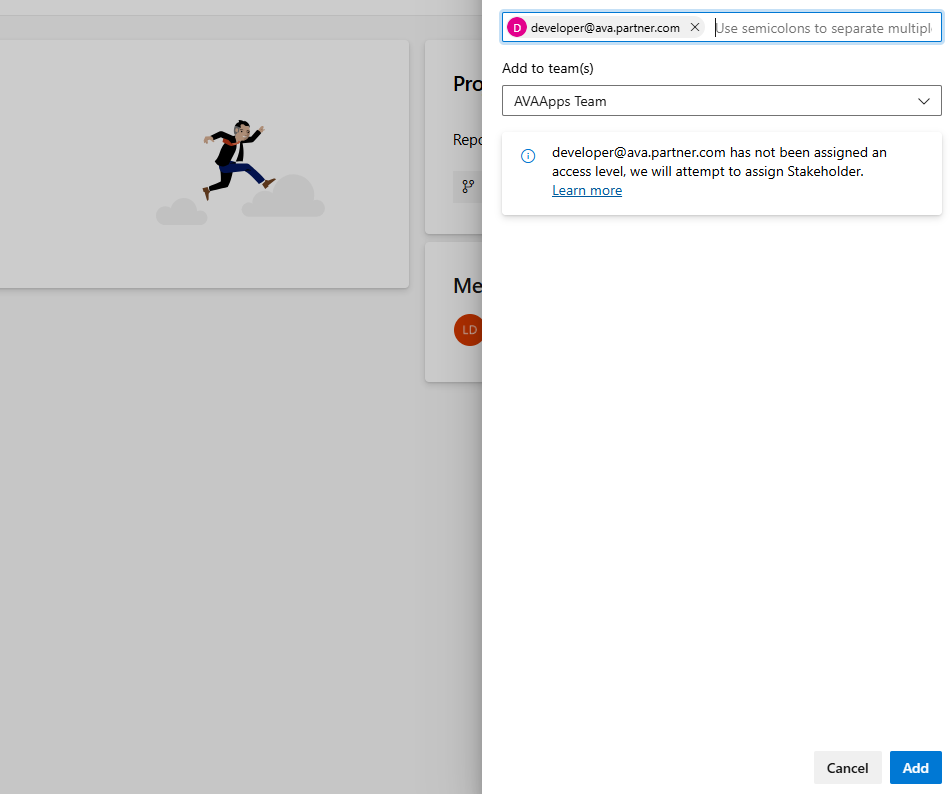
However, commonly has the newly created user Stakeholder access level. This role with has only minimum of permissions. Therefore it is necessary, assign all the newly created users to Basic role. This role has all needed permissions for successful software development.
To switch user to Basic role, go to the introductory screen of Azure Devops organization (click on Azure DevOps label in in the upper-left corner).

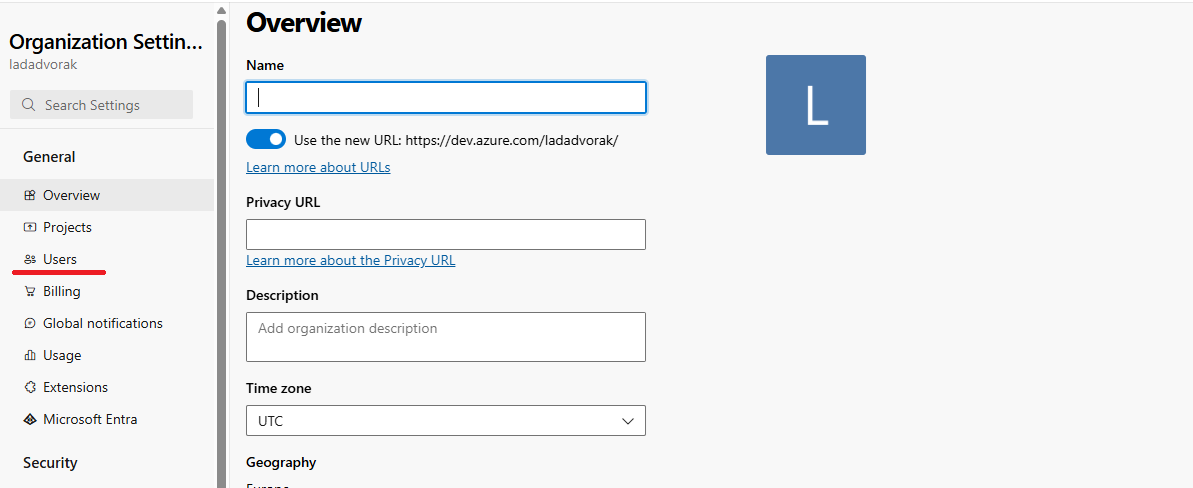
Afterwards, click on Organization settings field in the lower left hand corner.

There, click on Users.
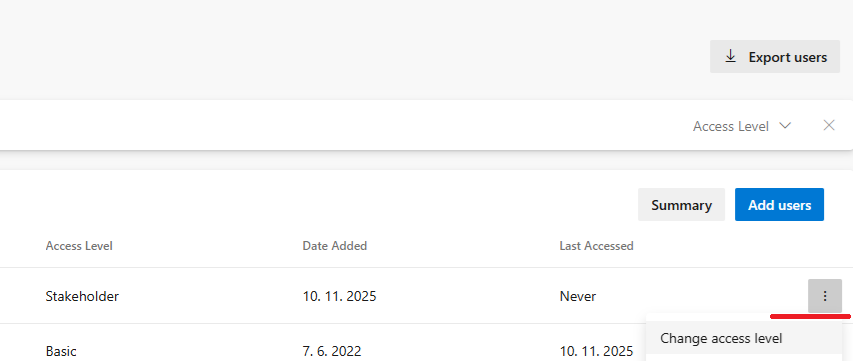
For the newly created user with Stakeholder role, click on three dot button and choose Change access level.
Set Access level value to Basic. And again store this information with Save button in the lower right hand corner.
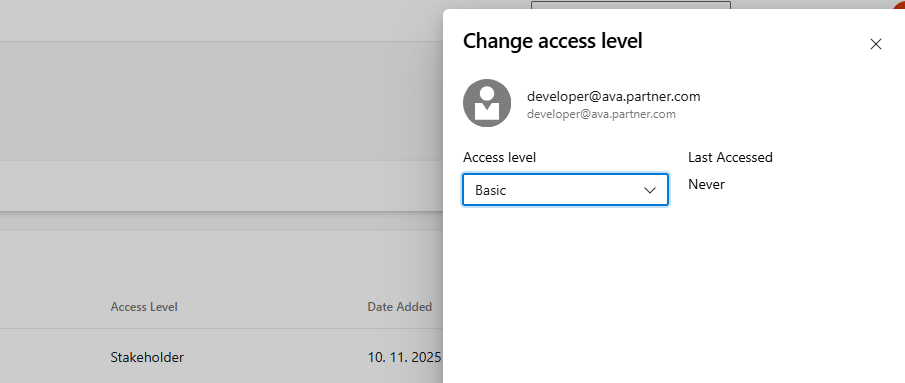
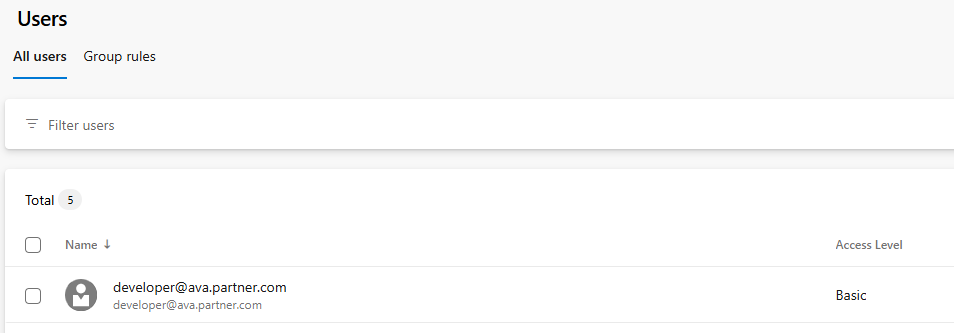
In the end new user has Basic acess level. And so he can upload files in repozitory.
Therefore the Azure DevOps organization with contributing developers is created and we can continue with Creation of an application repository step.