Prepare Azure DevOps to build application
Overview
This section explains how to prepare Azure DevOps to build application a create build and release pipelines there.
Install AWS toolkit for Azure DevOps
Before creating build pipelines, AWS Toolkit must be installed into Azure Devops. And it is from the reason that at the end, built application in container will be stored into AWS container repository.
The procedure of installing AWS Toolkit task is following:
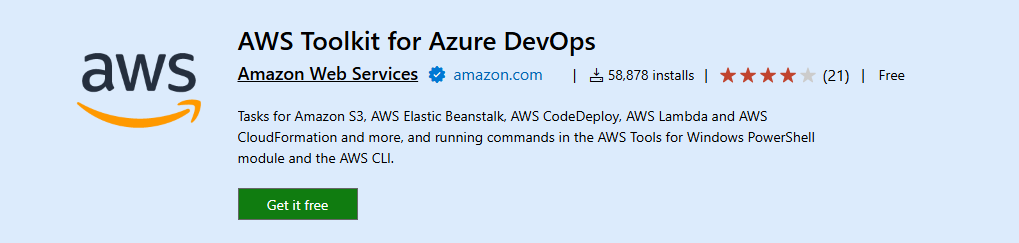
On web page AWS Toolkit for Azure DevOps click on Get it free button.
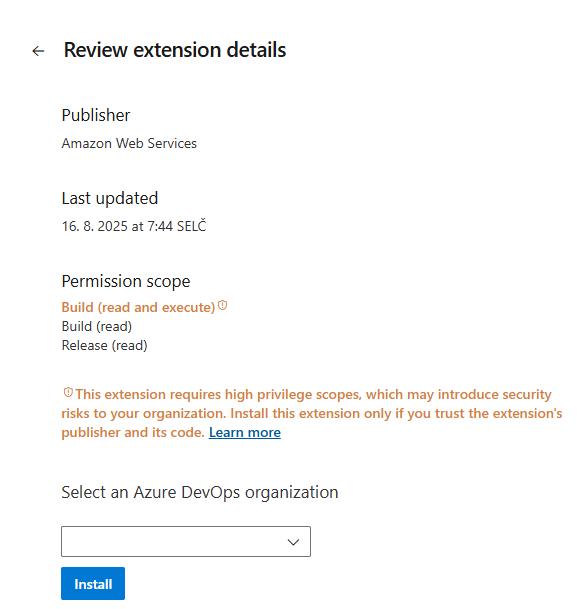
When dialog appears, select the correct organization and click the Install button.
Afterwards, the extension is successfully installed.
Registration to start building with cloud agent pool
Subsequently, partner must register to use Azure Pipelines built-in agent pool for building.
The form for this request is available here - Azure DevOps Parallelism Request.
When you fill out the form completing, please select the Private project option. AVA partner applications fall under private projects; public projects are typically open-source project. After filling it out, click the "Odeslat" button
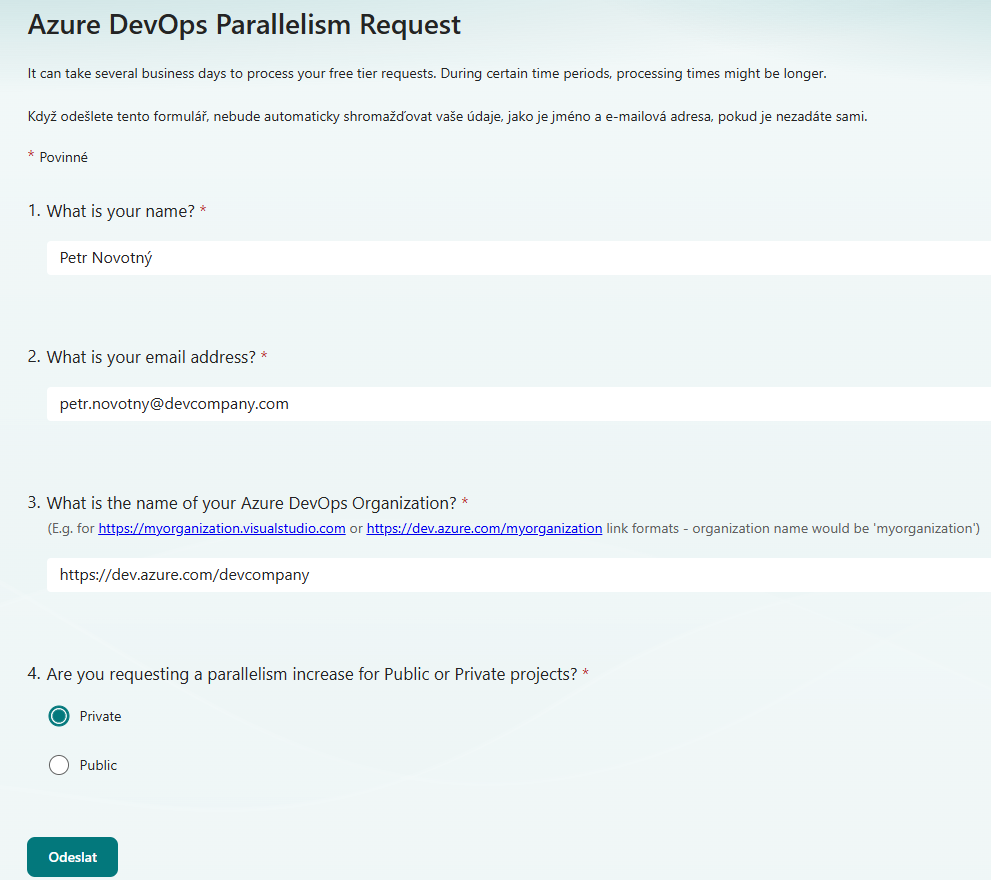
Access is provided usually in about a few business days.
Create service connection to container registry
Create service connection to container registry is other step to successfully pass building process.
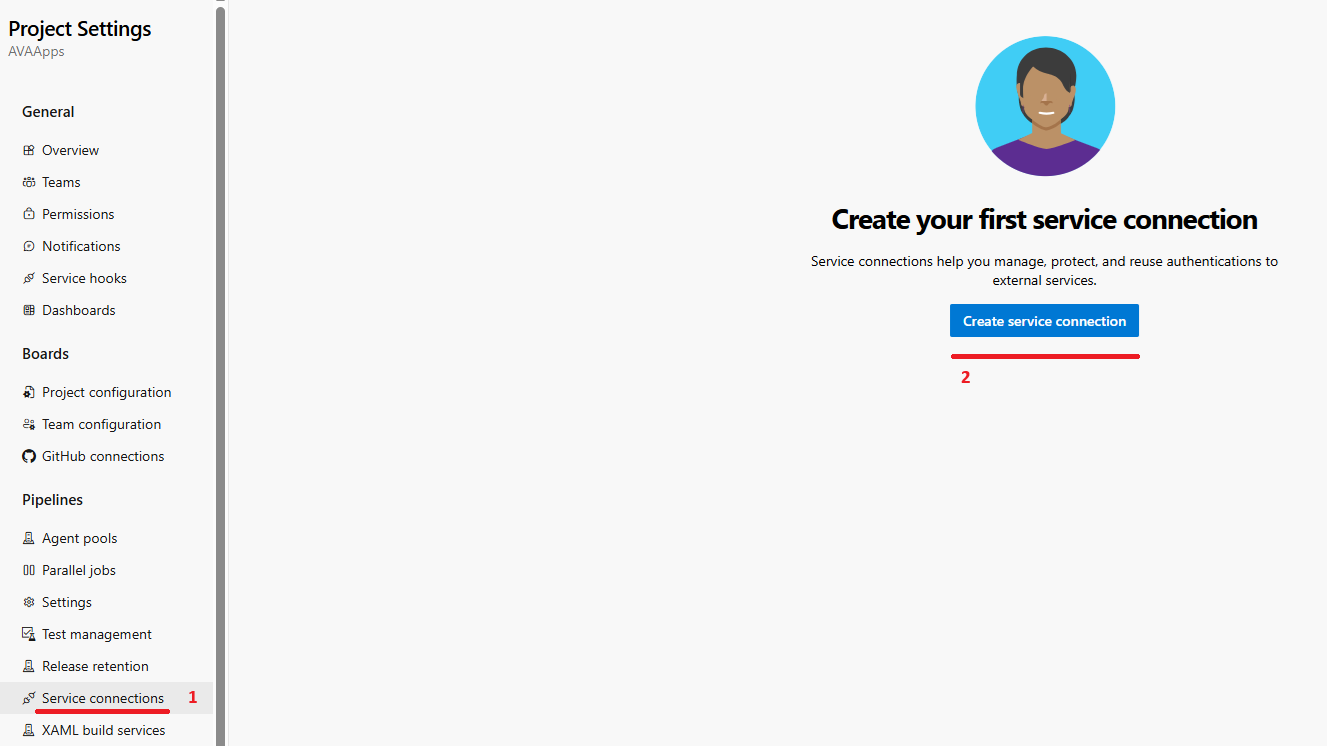
Please, again go to Project settings of AVAApps project
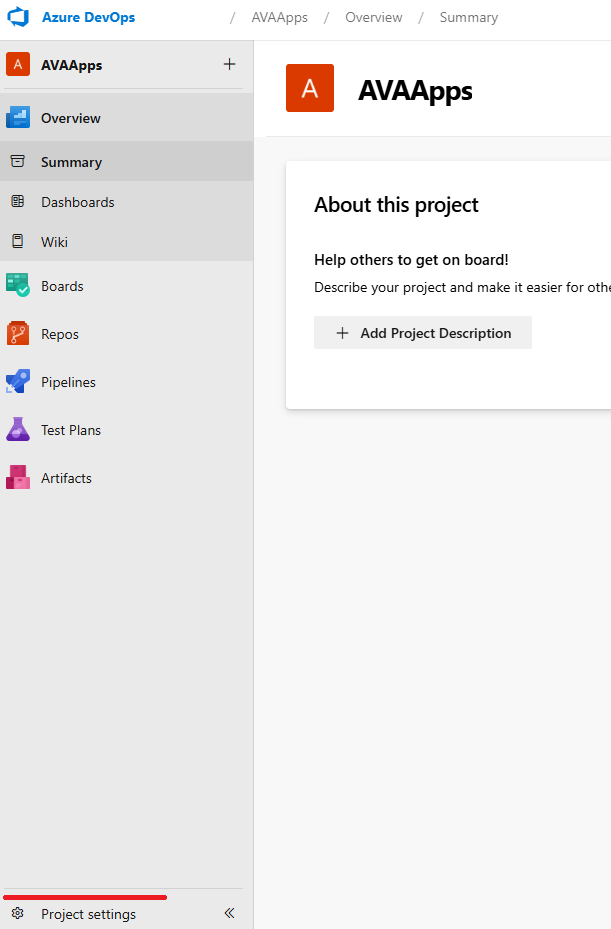
Then inside, choose Service connections and afterwards, click on Create service connection button.
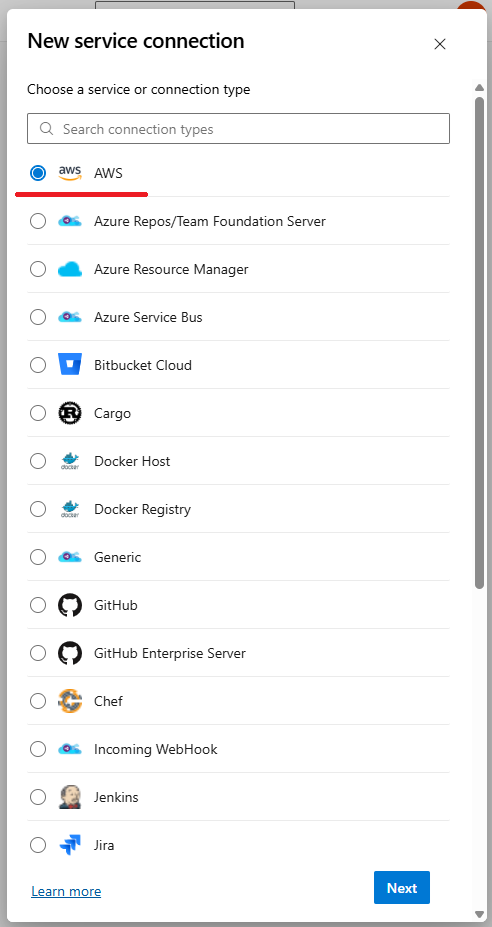
Subsequently choose AWS connection (in first line) and lick on Next button.
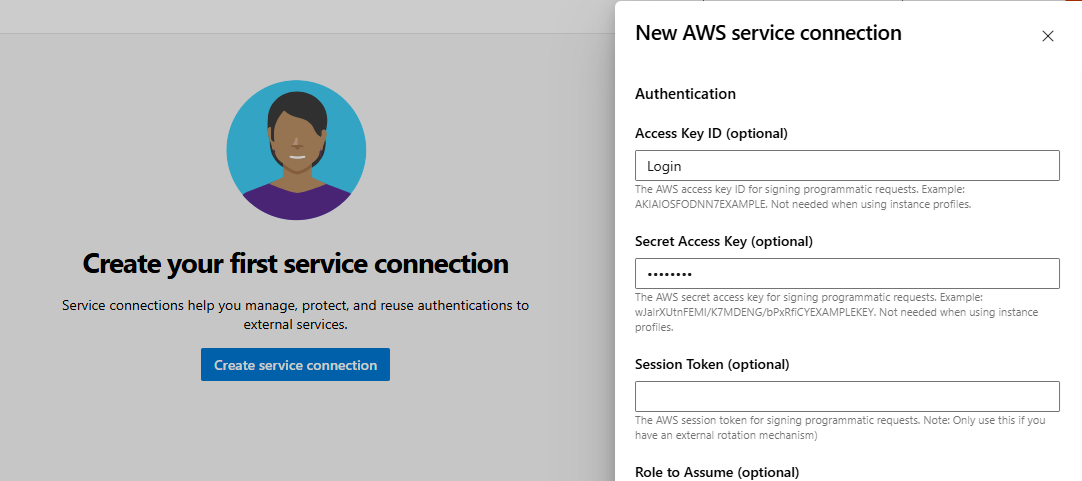
In the dialog that appears, enter your login name in the Access Key ID field and your password in the Secret Access Key field. These values you will receive in response to your request from Asseco Solutions.
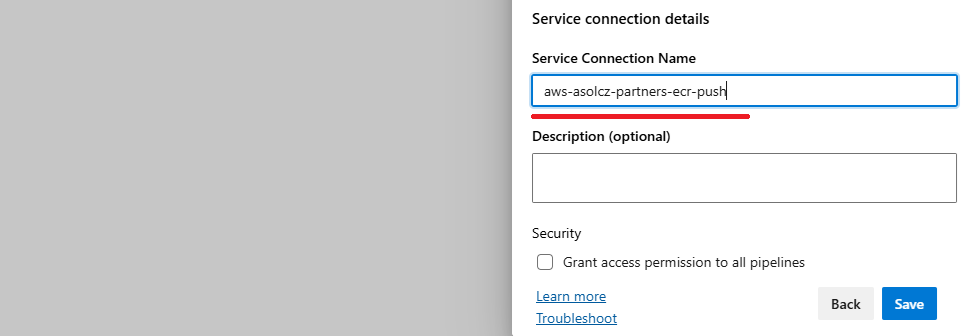
And then fill Service Connection Name field with value aws-asolcz-partners-ecr-push and confirm by clicking Save button.
Build pipeline creation in Azure DevOps
Go to Pipelines (step 1 in the picture below) and thereafter click on Create Pipeline button (step 2).
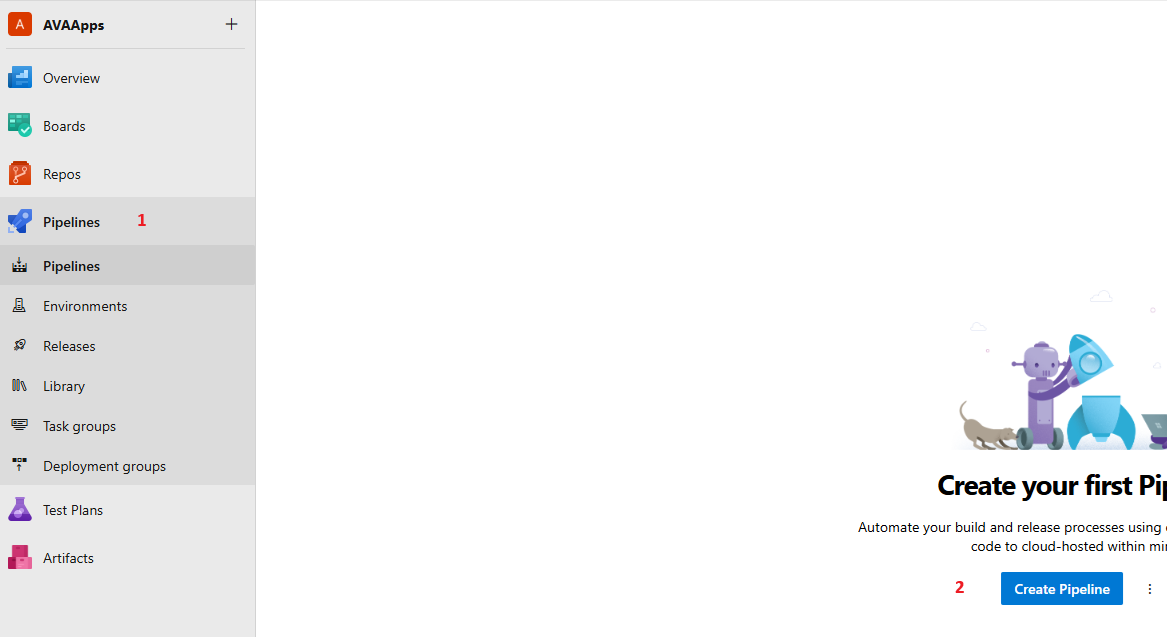
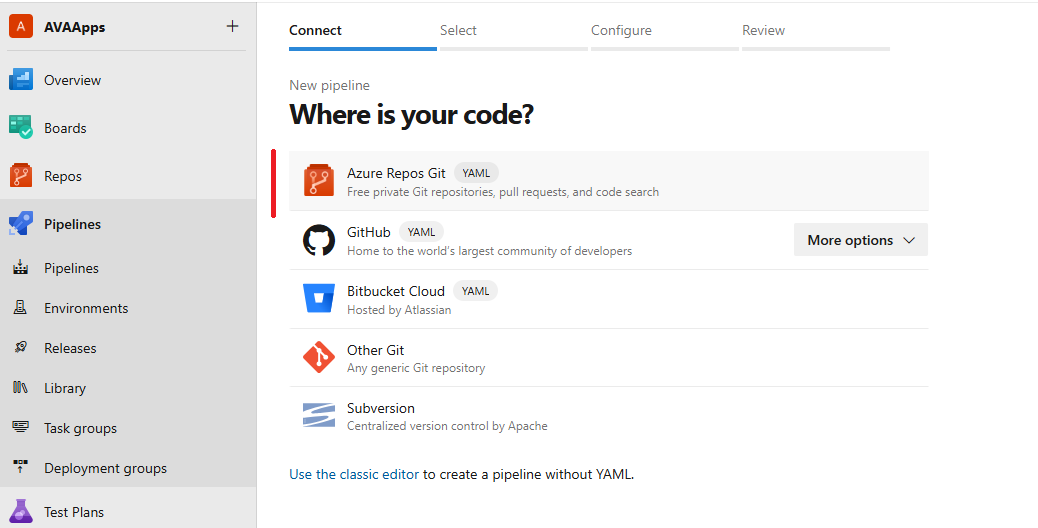
Then continue with Azure Repos Git choice.
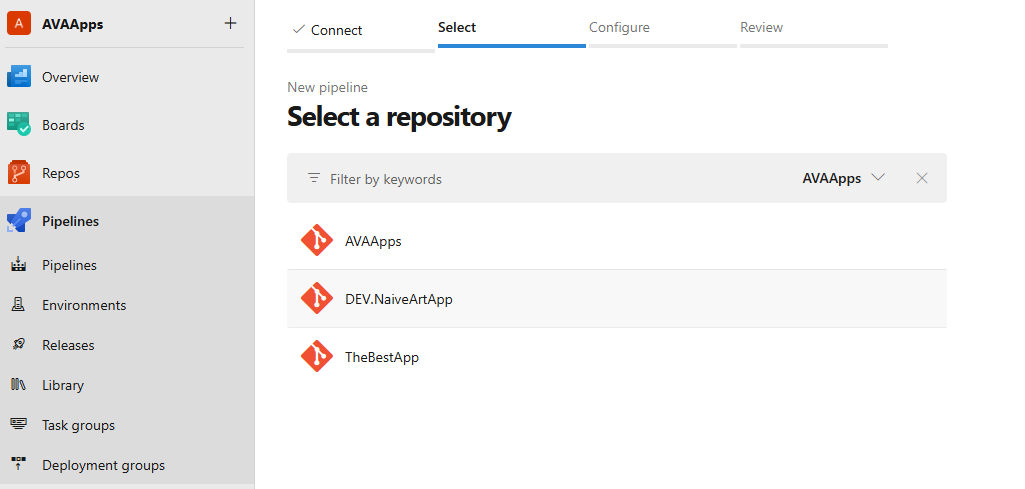
Select application's repository.
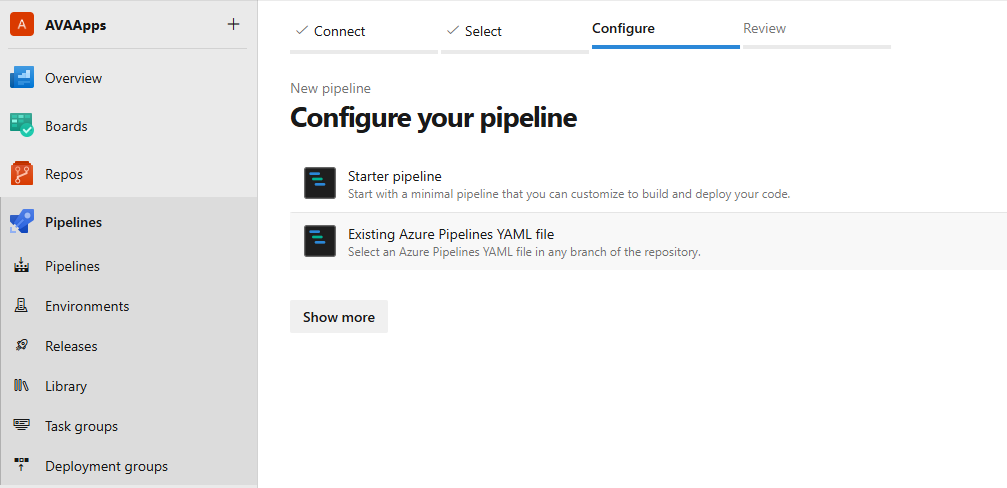
Then choose Existing Azure Pipelines YAML file, because the yaml file for the pipeline is already created.
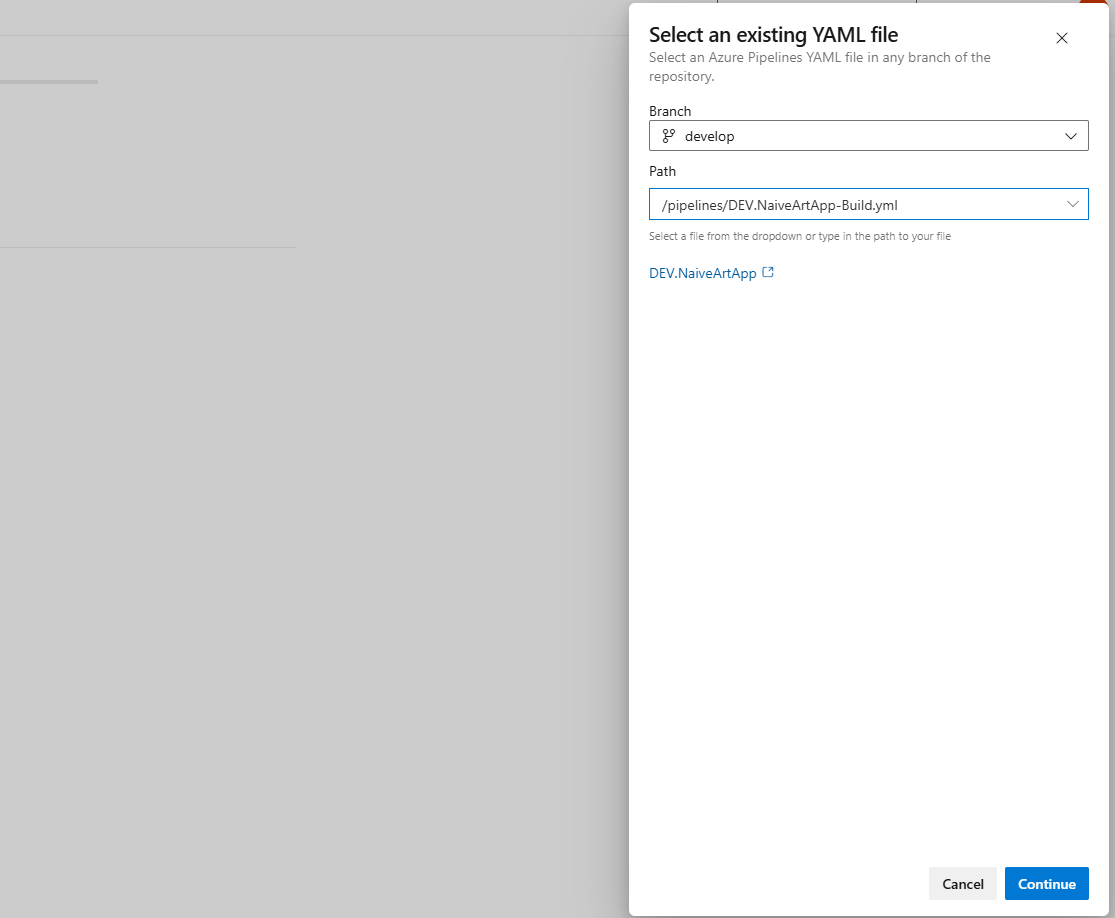
And just select correct branch (develop) and path to application's build yaml file created in previous step - just like in the picture. Click on Continue button completes this step
When pipeline is created, appears in the list.

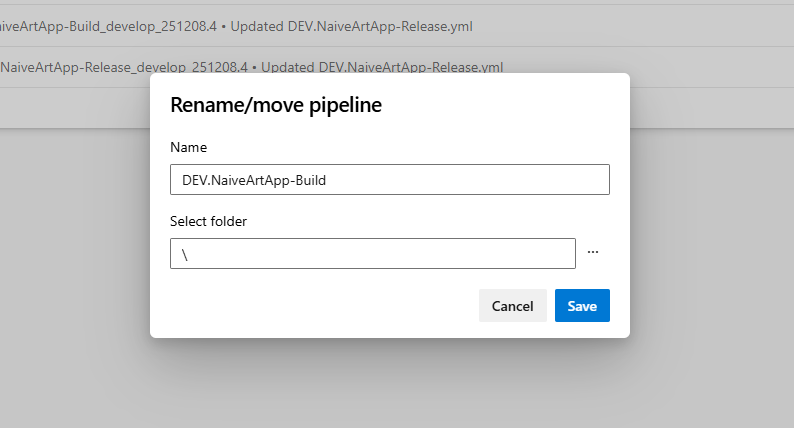
So, please rename it accordingly pattern <Name of repository>-Build
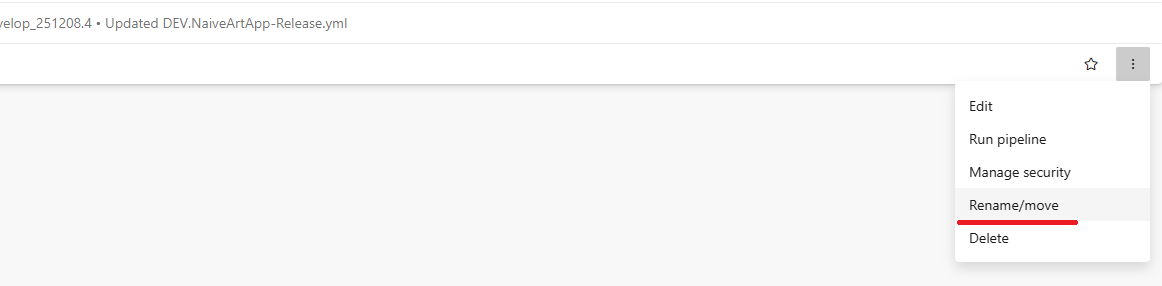
and click on Save.
Release pipeline creation in Azure DevOps
For release pipeline do the same steps, only where in previous procedure was Build, substitute it with Release now.
The YAML file you need to select is /pipelines/<Name of repository>-Release.yml, and the final name of the pipeline is <Name of repository>-Release.
Result pipeline creation in Azure DevOps
Result pipeline is a pipeline where the deployment results appears.
The pipeline set it up the same way as previous pipelines, only where in previous procedure was e.g. Build, substitute it now with Result string.
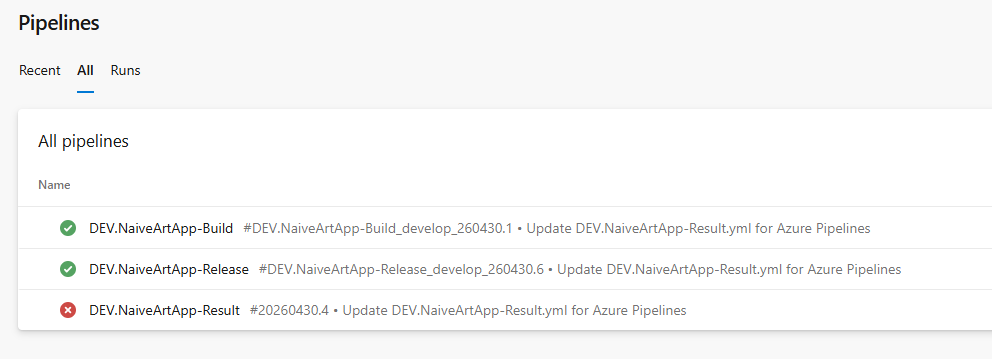
In the end, you should see all three pipelines.
Add a SECRET variable to the release pipelines
Release pipelines from partner's Azure Devops space call pipeline inside Asseco's Azure Devops.
This communication protects SECRET variable which you obtain from Asseco Solutions. Aftertwards please set this variable for release pipeline only.
Continue with the following steps.
- In the All pipelines list (shown in the picture above) choose release pipeline, click on its name. You will be forwarded inside the definition of the pipeline. And here, click on the Edit button.

- click on Variables button.

- In a window that appears, click on + symbol and to create a new variable.
Fill SECRET in the Name field, obtained secret in the Value field and check Keep this value secret parameter. All confirm with pressing OK button in the same dialog.
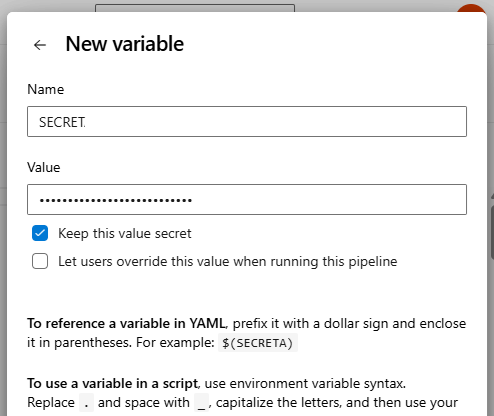
- And save changes in pipeline with Save button on next dialog.

Let's continue with next step.
Create Incoming webhook service connection for result pipeline
In the default project view, click on Project settings , located in left bottom corner. Subsequently on Service connections located under the Pipelines submenu.
Afterwards click on New service connection button. There choose Incoming webhook and press the Next button.
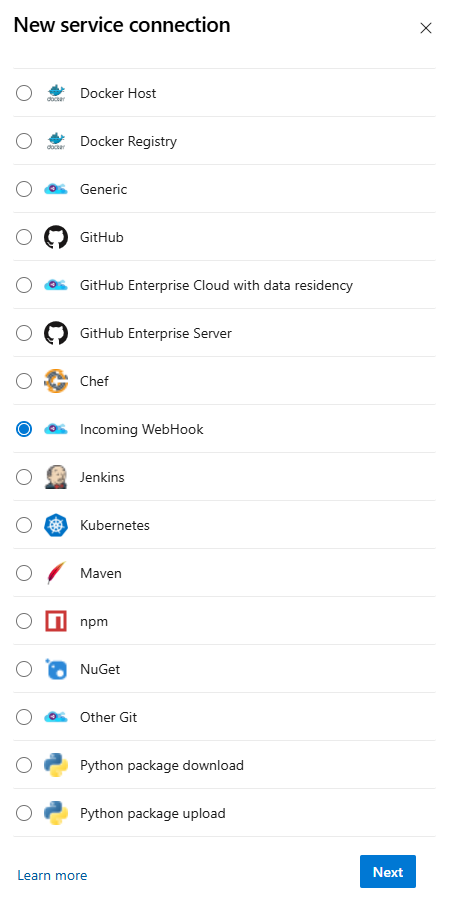
In screen that appears, please, fill all below listed values.
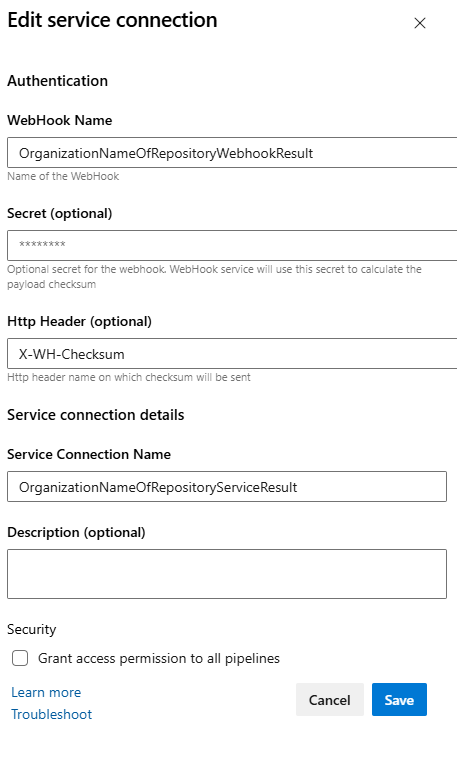
WebHook Name Ask for this value Asseco Solutions. Generally starts with name of the organization and repository and suffix is always the same. Secret (optional) Here copy SECRET value from previous step. Http Header (optional) Is all the time X-WH-Checksum as shown in the picture. Service Connection Name Ask for this value Asseco Solutions. Again generally starts with name of the organization followed by repository name and suffix is again the same.
Once you've completed all the steps on this page let's continue with first run of created pipelines running these pipelines.